
Overview:
The 'Chat Extensions' ad format refers to advertisements within the chat extension menu. These ads are displayed to users when they type a message and wish to enhance it with a link to a YouTube video, location, or GIF. To ensure optimal display, it's important to note that separate creatives are required for iOS and Android, as Viber requires different dimensions for the images added.
Technical Specifications:
· Image:
- Dimensions for iOS of 200x200 pixels
-
Supported file types: .jpg, .png
· Title: recommended up to 20 characters, maximum 60 characters
·
Description: recommended up to 25 characters, maximum 119 characters
· Call-to-Action (CTA): recommended up to 10 characters, maximum 15 characters (only for IOS needed)
· Icon: dimensions of 50x50
Google Deal Technical Specifications:
- Image dimensions: 1200x627 pixels and 600x600 pixels
- Title: recommended up to 20 characters, maximum 60 characters
- Description: recommended up to 25 characters, maximum 119 characters
- Call-to-Action (CTA): recommended up to 10 characters, maximum 15 characters
- Icon dimensions: 100x100 pixels
Creative Setup Steps:
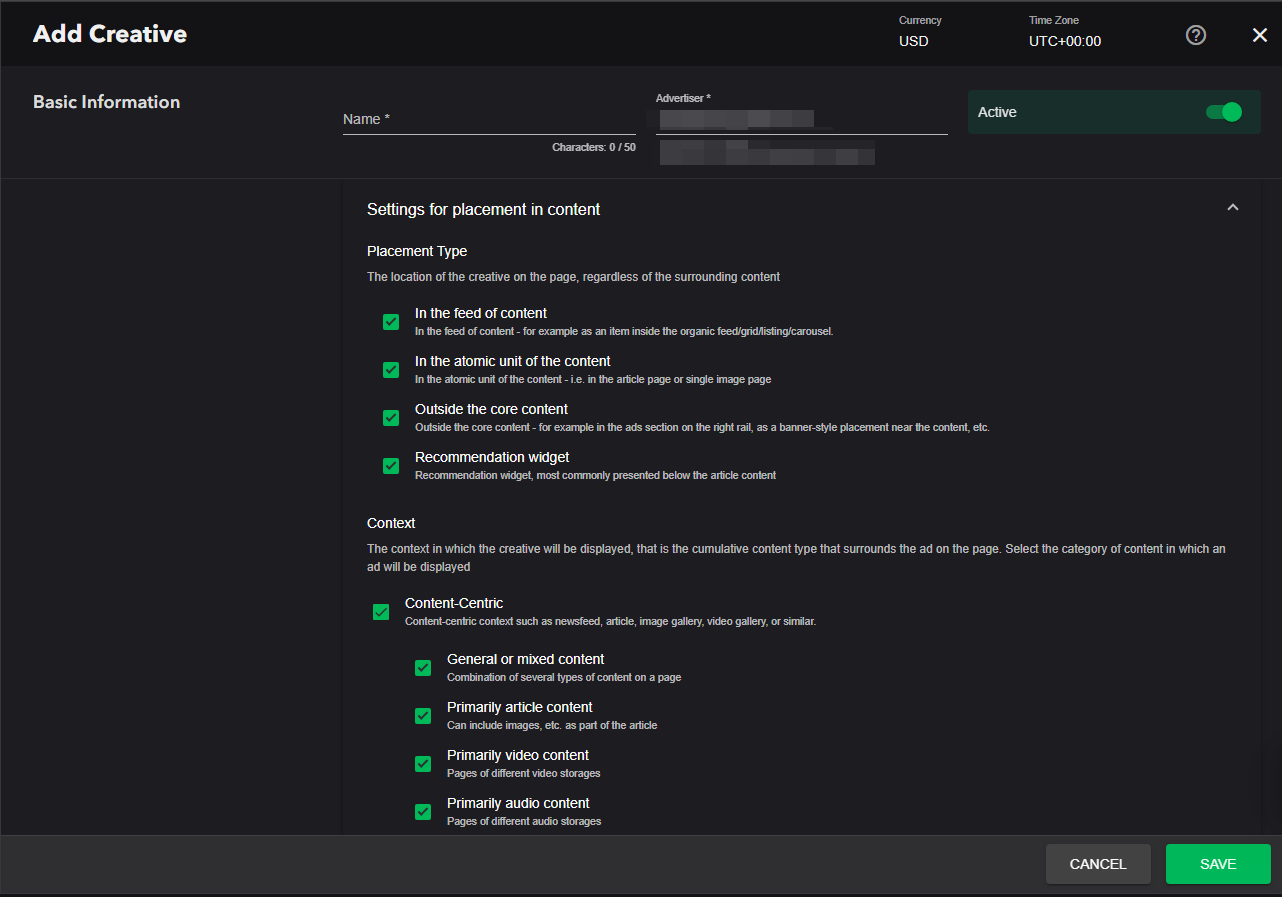
1. Add Creative: Add the creative through the 'Profile' blade or separately through the 'Creatives' blade.
2. Select an Advertiser: In case of adding the creative from the 'Creatives' blade select an advertiser from the available list.
3. Name: Provide a distinctive name for the creative.
4. Template Selection: Choose the Native Universal template to structure your creative.

5. Main Information:
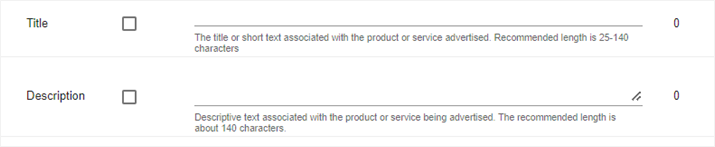
a. Title: Enter a concise title containing up to 60 characters. This title represents the core message associated with the advertised product or service.
b. Description: Enter a descriptive text within a limit of 119 characters. This description complements the product or service being promoted.
c. Main Image Upload: Upload the primary image, adhering to the specified dimensions.
d. Icon URL: Insert the URL for the icon that will be displayed within the main image. The icon should be sized at 50x50. You can generate the icon URL using reputable online third-party tools.

6. Additional Information:
a. Call-to-Action (CTA) Text: Define the text for the Call-to-Action button. This text encourages users to take the desired action upon clicking.

7. Branding Section: Add the advertiser's domain in the 'Branding' section.
8. Landing Page Section: Specify the landing page URL where users will be redirected after clicking the creative. The default landing page type should remain unchanged.
9. Event Tracking: If needed, select the event type and add the event code in the Event Tracking section to enable tracking through third-party tools.
These instructions ensure a comprehensive and proper setup for your creative within the Viber application, catering to the specific requirements of each operating system.